Key Takeaways
- A worktop edging strip seals the raw chipboard core of a cut laminate worktop to prevent moisture damage, swelling, and delamination.
- Fitting an edging strip requires simple household tools like an iron, a trimming knife, sandpaper, and a protective layer of baking parchment.
- The installation process involves preparing and cleaning the cut edge, aligning the pattern, ironing on the pre-glued strip with firm, even pressure, and allowing it to cool.
- Trimming the overhang should only be done after the adhesive has fully cooled for 10 to 15 minutes to prevent the strip from shifting or lifting.
- Common mistakes that ruin the job include rushing the heating stage, trimming too early with a blunt knife, and skipping the cleaning or sanding steps.
A worktop edging strip is a thin laminate or PVC band, usually pre-glued with a heat-activated adhesive, that’s ironed onto the cut end of a laminate worktop to seal it. Most DIYers can fit one in under an hour per cut edge using a household iron, a sharp trimming knife and a bit of patience, no specialist tools required.
Cutting a laminate worktop to fit your kitchen exposes the raw chipboard core underneath, and that’s a problem: chipboard swells and delaminates if moisture gets into it. An edging strip seals that exposed edge, matches the worktop’s colour and pattern, and gives a cut end a factory-finished look. This guide covers the full process, the tools you’ll need, and the mistakes that cause most edging jobs to fail.
Why Worktops Need An Edging Strip
Laminate worktops are made from a decorative laminate layer bonded to a chipboard or MDF core. The factory edges usually arrive pre-sealed, but the moment you cut a worktop to length, to fit a run, an island, or around a corner, you expose bare chipboard at that cut end. Left untreated, that exposed edge lets moisture in through everyday spills and cleaning, which causes swelling, softening and eventually delamination of the laminate surface.
A Kitchen worktop edging, sometimes called edging tape, solves this by bonding a matching strip of laminate over the cut end, sealing out moisture and finishing the edge so it looks like it left the factory that way.
Tools And Materials You’ll Need
- A household iron or dedicated edging iron
- Baking parchment or a clean, thin cotton cloth (to protect the strip from direct iron contact)
- A sharp trimming knife or laminate edge trimmer
- A fine flat file
- Sandpaper (medium and fine grit)
- A measuring tape
- A dry cloth
- Matching pre-glued edging strip, cut a little longer than the edge you’re covering
How To Fit An Edging Strip, Step By Step
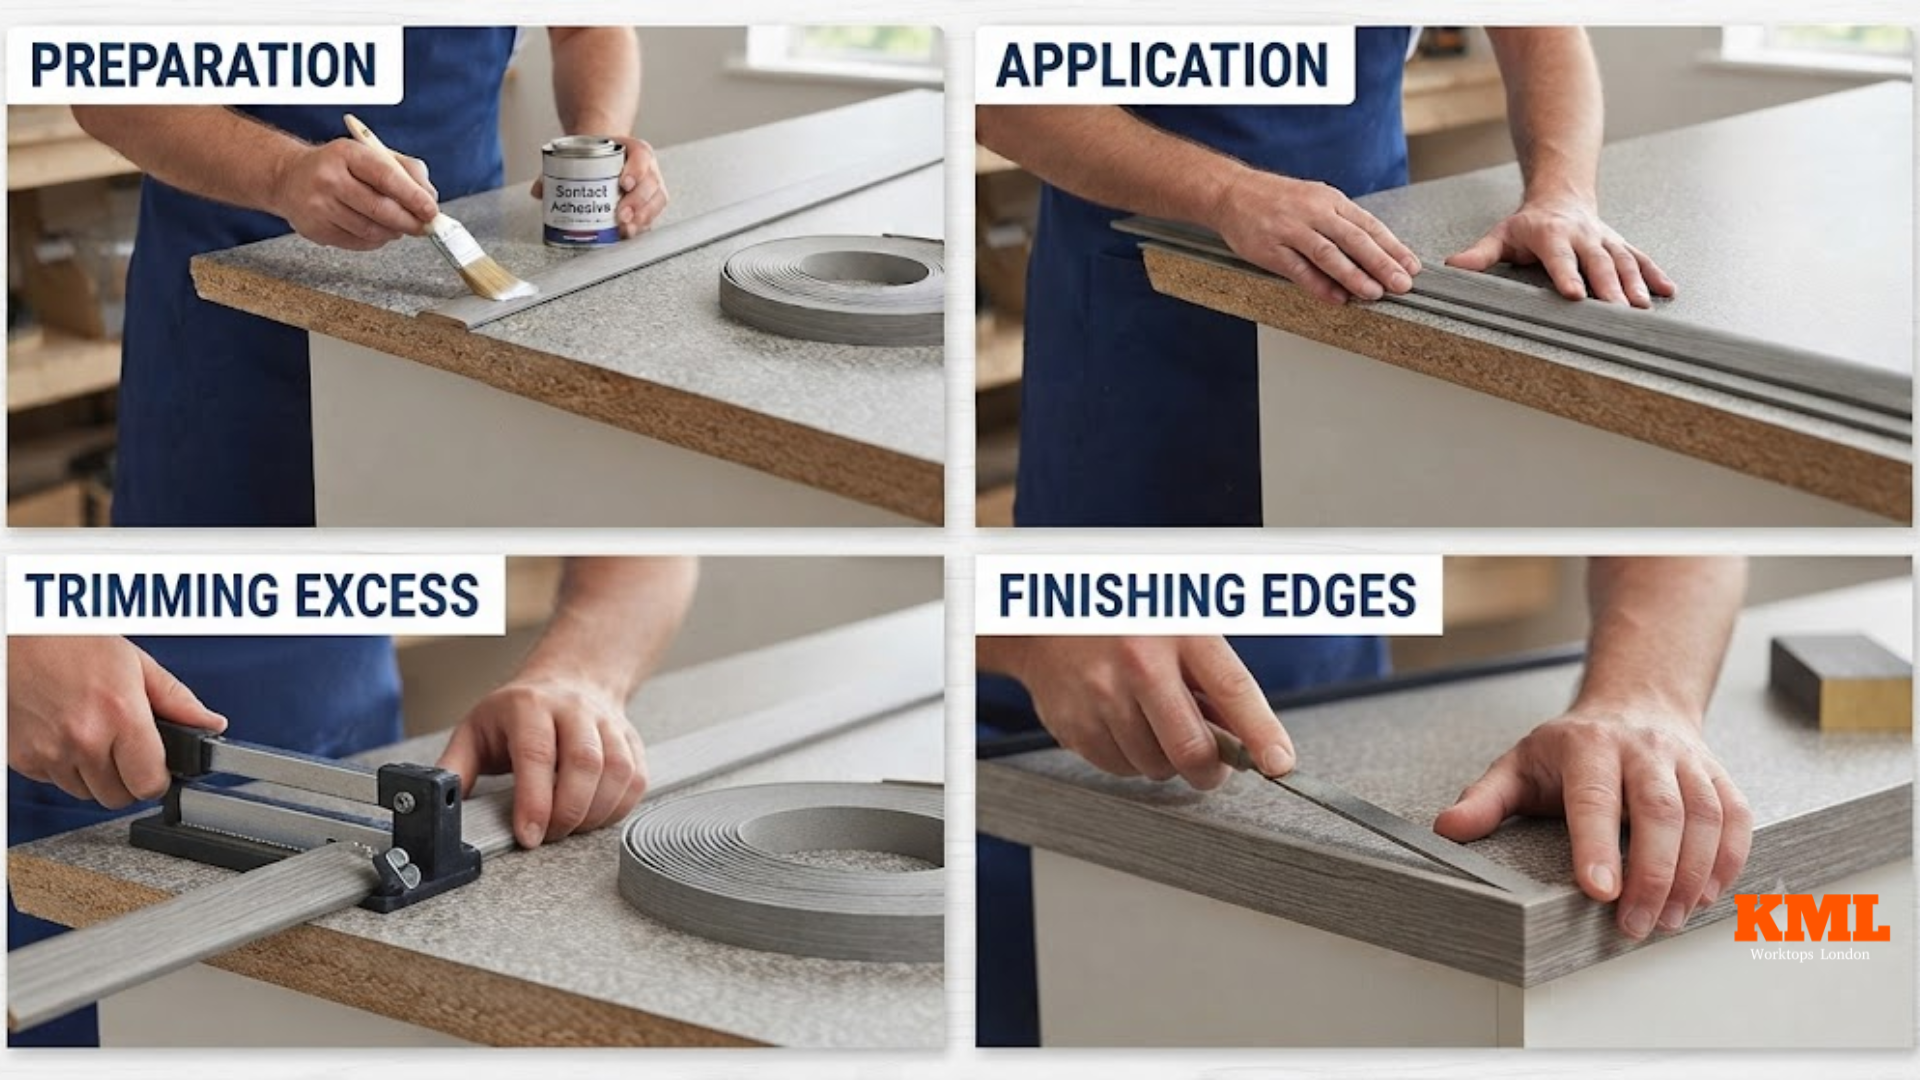
1. Prepare the cut edge
Start by cutting the worktop to length with a fine-tooth saw blade, keeping the cut as straight as possible. Sand the cut edge lightly to remove splinters and stray fibres, then wipe it down with a dry cloth to clear dust. Any grit or moisture left on the chipboard will stop the adhesive bonding properly.
2. Cut and position the strip
Unroll the edging strip and let it lie flat for a few minutes if it’s been tightly coiled, so it sits straight rather than fighting you while you work. Cut a length a little longer than the worktop edge, you’ll trim the overhang off later, and hold it against the cut end to check the pattern lines up with the worktop’s surface grain or texture.
3. Iron it on
Set a household iron to a medium heat with the steam function off. Lay a sheet of baking parchment or a thin cloth over the strip to protect it from direct iron contact, then press the iron along the strip in short sections, around 10 to 20 seconds at a time, working steadily from one end to the other.
Apply firm, even pressure as you go and keep the iron moving; resting it in one spot for too long can scorch or bubble the laminate. A quick, firm press with a folded cloth immediately after heating each section helps bed the strip down properly.
4. Let the adhesive cool fully
Resist the urge to trim while the glue is still warm. Give the whole length time to cool and set, this typically takes 10 to 15 minutes, and check the corners and ends are firmly stuck down before moving on. Trimming too early is one of the most common causes of a strip lifting later, because the adhesive hasn’t fully hardened.
5. Trim and finish
Once cool, use a sharp trimming knife or a laminate edge trimmer to remove the overhanging edges top and bottom, working carefully to avoid chipping the laminate. Finish with a fine file and light sanding to smooth the trimmed edges flush with the worktop surface, checking the join by running a finger along it, it should feel seamless, not stepped.
Mistakes That Ruin An Edging Strip Job
- Rushing the heating stage: too little heat means the adhesive never fully activates and the strip lifts within weeks; too much heat scorches or bubbles the laminate.
- Trimming before the adhesive has fully cooled, which lets the strip shift out of position.
- Using a blunt knife, which tears the laminate instead of cutting it cleanly and leaves a rough, uneven edge.
- Skipping the sanding/cleaning step before applying the strip, which leaves dust or grease under the adhesive and weakens the bond.
- Not checking the pattern alignment before ironing, once it’s bonded, repositioning usually means reheating and risking damage to the strip.
Looking After An Edged Worktop
Once fitted, clean the edge the same way you’d clean the rest of the worktop: a mild cloth or detergent, wiped dry afterwards. Avoid leaving the edge soaking in standing water, and wipe up spills reasonably promptly rather than letting moisture sit against the seam. Harsh chemical cleaners and abrasive scourers can dull the laminate’s finish over time, so stick to something gentle.
Conclusion
Fitting a kitchen worktop edging strip is a genuinely achievable DIY job, the materials are inexpensive, and the technique is straightforward once you’ve done one edge. The two things that separate a neat, long-lasting result from a lifting, unravelling one are patience with the heat and letting the adhesive cool fully before you trim. Get those two steps right, and you’ll get a durable, professional-looking finish without paying to replace the whole worktop.
Frequently Asked Questions
Q1 What glue is used for worktop edging strip?
Most edging strips come pre-glued with a heat-activated adhesive already applied to the back, so you don’t need a separate glue, a household iron simply melts and reactivates it. If you’re using an unglued strip, a contact adhesive or hot-melt glue suitable for laminate surfaces is used instead, applied to both the strip and the worktop edge before pressing them together.
Q2 How do you fix a lifting or peeling edging strip?
Place a cloth over the lifted section and reheat it gently with the iron for a few seconds to soften the adhesive, then press it back down firmly and hold it in place until it cools. If a section has come away completely and the old adhesive has failed, it’s usually better to remove that piece, clean off the residue, and apply a fresh strip rather than trying to re-glue the same one repeatedly.
Q3 What’s the difference between an edging strip and a worktop upstand?
An edging strip covers the cut end of a worktop, the short, visible edge where it’s been trimmed to length. An upstand is a separate strip fitted vertically against the wall along the back of the worktop, covering the gap between worktop and wall. They solve different problems and most kitchens use both.
Q4 Can you fit an edging strip to any worktop thickness?
Edging strips are made in a small number of standard widths, usually matched to common worktop thicknesses such as 28mm, 38mm or 40mm laminate worktops. Check the strip width against your worktop’s actual thickness before buying, a strip that’s too narrow won’t fully cover the cut edge, and one that’s too wide will need extra trimming.
Q5 How long does an ironed-on edging strip last?
Fitted correctly, an edging strip should last as long as the worktop itself, many years of normal kitchen use. Most failures that happen sooner come down to the fitting process (too little heat, trimming too early) rather than the strip wearing out, which is why getting the technique right matters more than the product you buy.
Q6 Can you replace an edging strip without removing the whole worktop?
Yes. Because the strip only covers the cut end, you can remove and replace it in place, gently heat and lift the old strip away, clean the exposed edge back down to bare chipboard, and fit a new strip using the same process as a first-time installation. There’s no need to take the worktop out of the kitchen.